Jumping Bars, Romanized as Jumping Bar (ジャンピングバー), was an obstacle introduced during Third Stage's redesign in SASUKE 14.
Competitors must swing from one bar and then jump to the next bar below. The obstacle would always lead into another obstacle, which is Climbing Bars from SASUKE 14 to SASUKE 18, Sending Climber in SASUKE 19 and 20, and Hang Climbing from SASUKE 21 to SASUKE 24, without any resting point in-between. Due to that, this obstacle was proven to be a massive energy drainer for the final obstacles in the stage.
The obstacle went through two modifications during its lifespan across eleven tournaments. However, due to Urushihara Yuuji's Kanzenseiha in SASUKE 24, it was replaced by Swing Circle, which used a similar premise as this obstacle, but with free-hanging rings instead of bars.
First Version[]

Takeda Toshihiro attempting Jumping Bars in SASUKE 15
The first version of Jumping Bars was used in SASUKE 14 and 15. Competitors had to jump through six bars, each placed 1.6 metres apart, making the total length of the obstacle 8 metres. This version of the obstacle was the hardest of all of them, as not only were most competitors were physically drained by the time they reached Climbing Bars; in fact, Shiratori Bunpei failed Climbing Bars right away after clearing the obstacle in SASUKE 15. They also had a huge disadvantage due to the starting platform being placed directly below the first bar, making it difficult for the competitors to build momentum.
This version was only attempted by five competitors, with Kobayashi Shinji (SASUKE 14), Shiratori Bunpei, and Takeda Toshihiro (both SASUKE 15) being those who were able to clear it. The people who failed it were Nagano Makoto (SASUKE 14) and Yamada Kōji (SASUKE 15).
Second Version[]

Shiratori Bunpei attempting modified Jumping Bars in SASUKE 16
The second version of Jumping Bars was used in SASUKE 16 and 17. This modification happened because no competitor even made it to Pipe Slider in SASUKE 14 or SASUKE 15. The first bar was now positioned further away from the resting platform to allow competitors to have more leg room when gathering up momentum. The number of bars were also reduced from six to four, making it slightly easier. As a proof, no one failed this version in SASUKE 16 or SASUKE 17.

Nagano Makoto attempting modified Jumping Bars in SASUKE 23
The obstacle would receive a further modification in SASUKE 18. The first bar was now placed even further and higher away from the resting platform, requiring competitors to jump for the first bar. Despite that change, no competitor failed on this version once again. This alteration would be the final version of the obstacle before its removal in SASUKE 24.
Other Appearances[]
American Ninja Warrior[]

American Ninja Warrior 1's Jumping Bars

American Ninja Warrior 2's Jumping Bars
Jumping Bars appeared in American Ninja Warrior 1 as the eighth obstacle during semifinal, as the fifth obstacle of the Qualifiers and Semifinals of American Ninja Warrior 2 with a similar specification to that in SASUKE 23, with the exception of a mini tramp at the start.

American Ninja Warrior 3's Jumping Bars


Paul Kasemir attempting Jumping Bars in American Ninja Warrior 3's Qualifiers


Travis Rosen attempting Jumping Bars in American Ninja Warrior 3's Semifinals
American Ninja Warrior 4's Jumping Bars in Northeast region
It reappeared American Ninja Warrior 3, both in qualifying and semifinal, and then in American Ninja Warrior 4 in Northeast region, with a trampoline added at the starting platform. However, the bars were placed at the same level instead of on a decline.
During American Ninja Warrior 3's qualifying, the gap between the bars was increased from five feet (from the past two American Ninja Warrior seasons) to 5.5 feet. Then, during semifinal on that season, the obstacle was modified by reducing the number of bars from four to three, making the gap between the bars was much larger.
During American Ninja Warrior 4's Northeast regional, the distance between bars returned to 5 feet once again. During the finals, most of the competitors who fell on this obstacle failed to get a high enough jump from the trampoline to reach the first bar.
Jumping Bars into Cargo Net[]

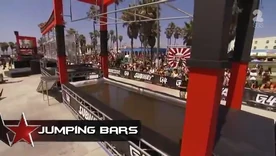
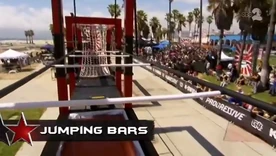
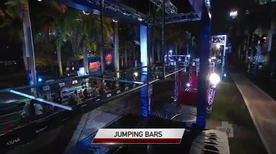
American Ninja Warrior 6's Jumping Bars into Cargo Net in Venice Beach
In American Ninja Warrior 6, Jumping Bars returned as Jumping Bars into Cargo Net, the fourth obstacle in Venice Beach. In this version, competitors must jump from the trampoline and grab the first bar. Then, they must make the 6-ft transition to the second bar, and then the transition to the cargo net to reach the landing platform.
Later, a similar version of Jumping Bars into Cargo Net called Triple Swing would appear as the eighth and final obstacle on American Ninja Warrior 7 in Stage One, replacing Tarzan Jump.
Other Apperances[]
Ninja Warrior Turkey[]

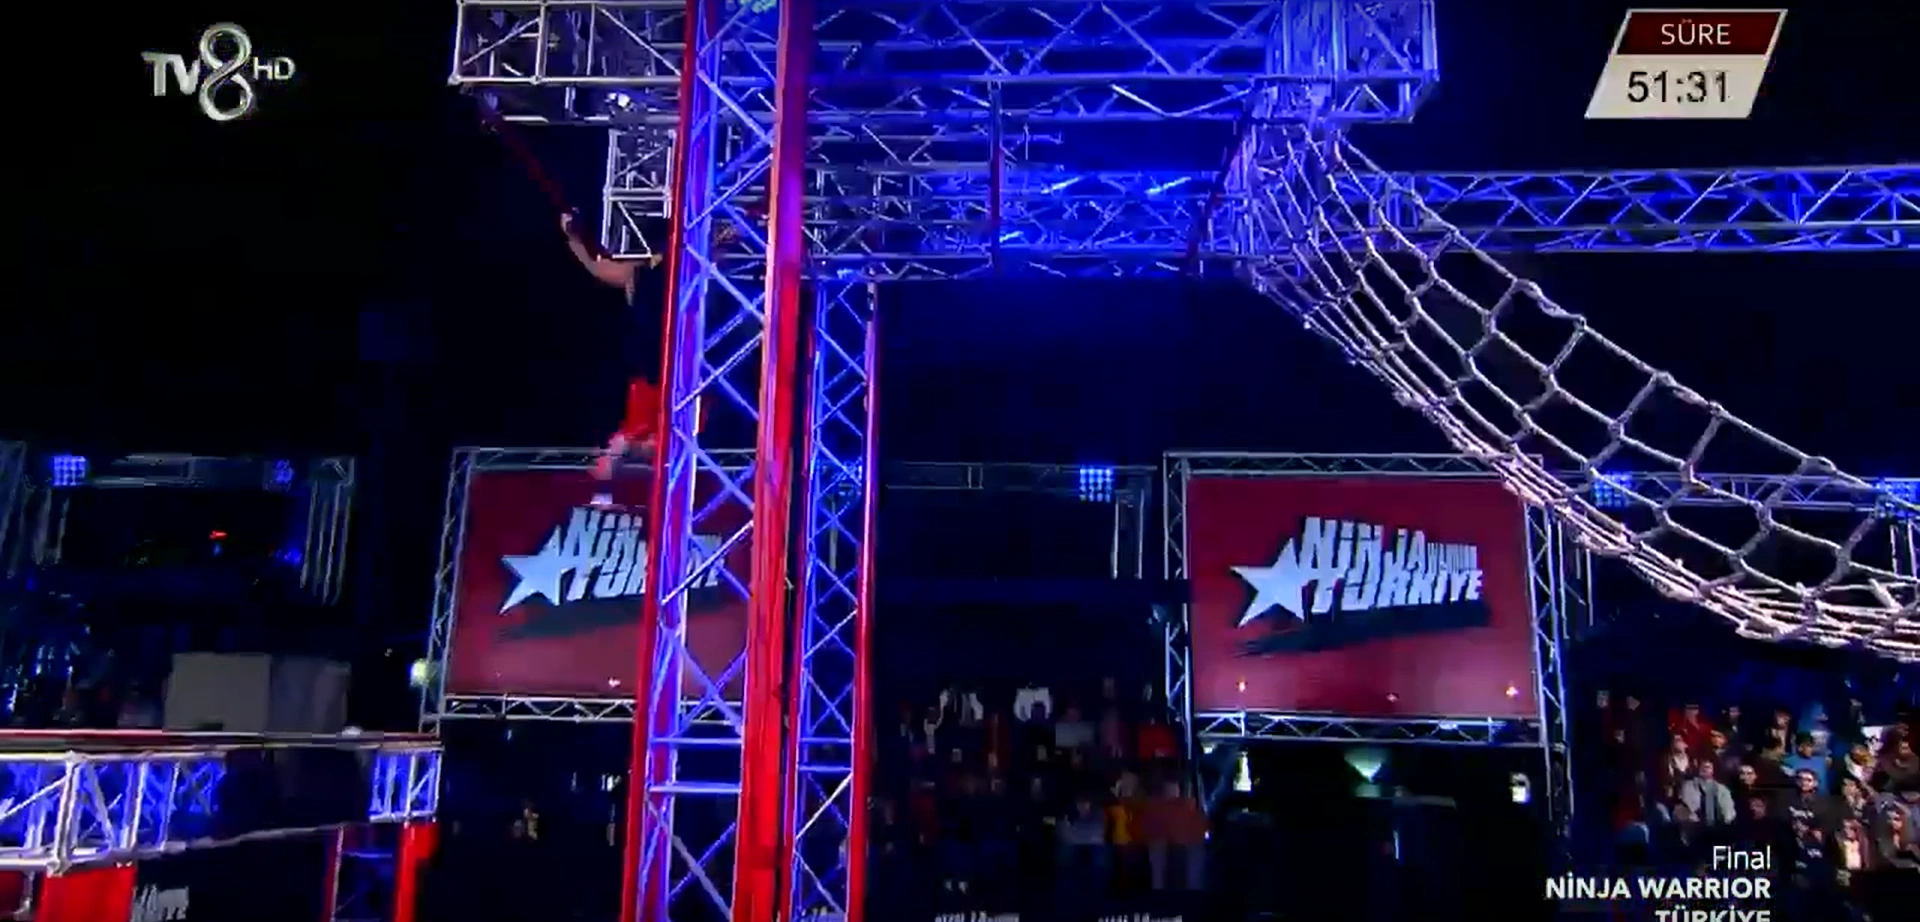
Ninja Warrior Turkey's Jumping Bars into Cargo Net
Jumping Bars into Cargo Net was the fourth obstacle in the Heats in Ninja Warrior Turkey, where there are four bars. The starting trampoline is replaced with just a block since the first bar is within arm's reach (similar to the original SASUKE version), while the net is positioned direct in front of the fourth bar. The distance between bars is also shorter than that in ANW 6.
Ninja Warrior Israel Junior[]
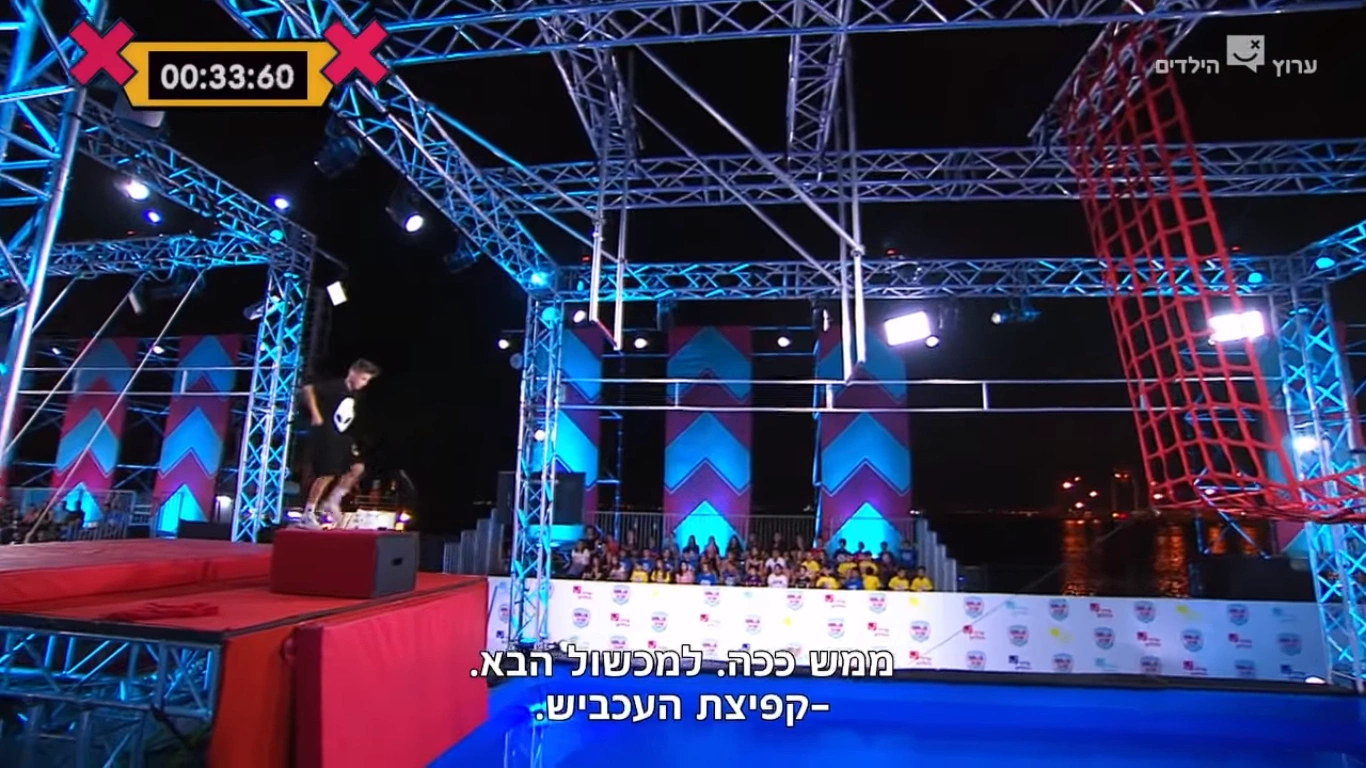
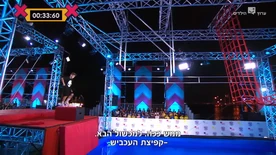
Ninja Israel Junior's Jumping Bars into Cargo Net
Jumping Bars into Cargo Net was the fourth obstacle of Heat 3 in Ninja Warrior Israel Junior, with two bars like American Ninja Warrior 6's version. However, the trampoline was removed, requiring competitors to jump for the first bar (similar to the Jumping Bars from SASUKE 18 to SASUKE 24).
Ninja Warrior UK[]
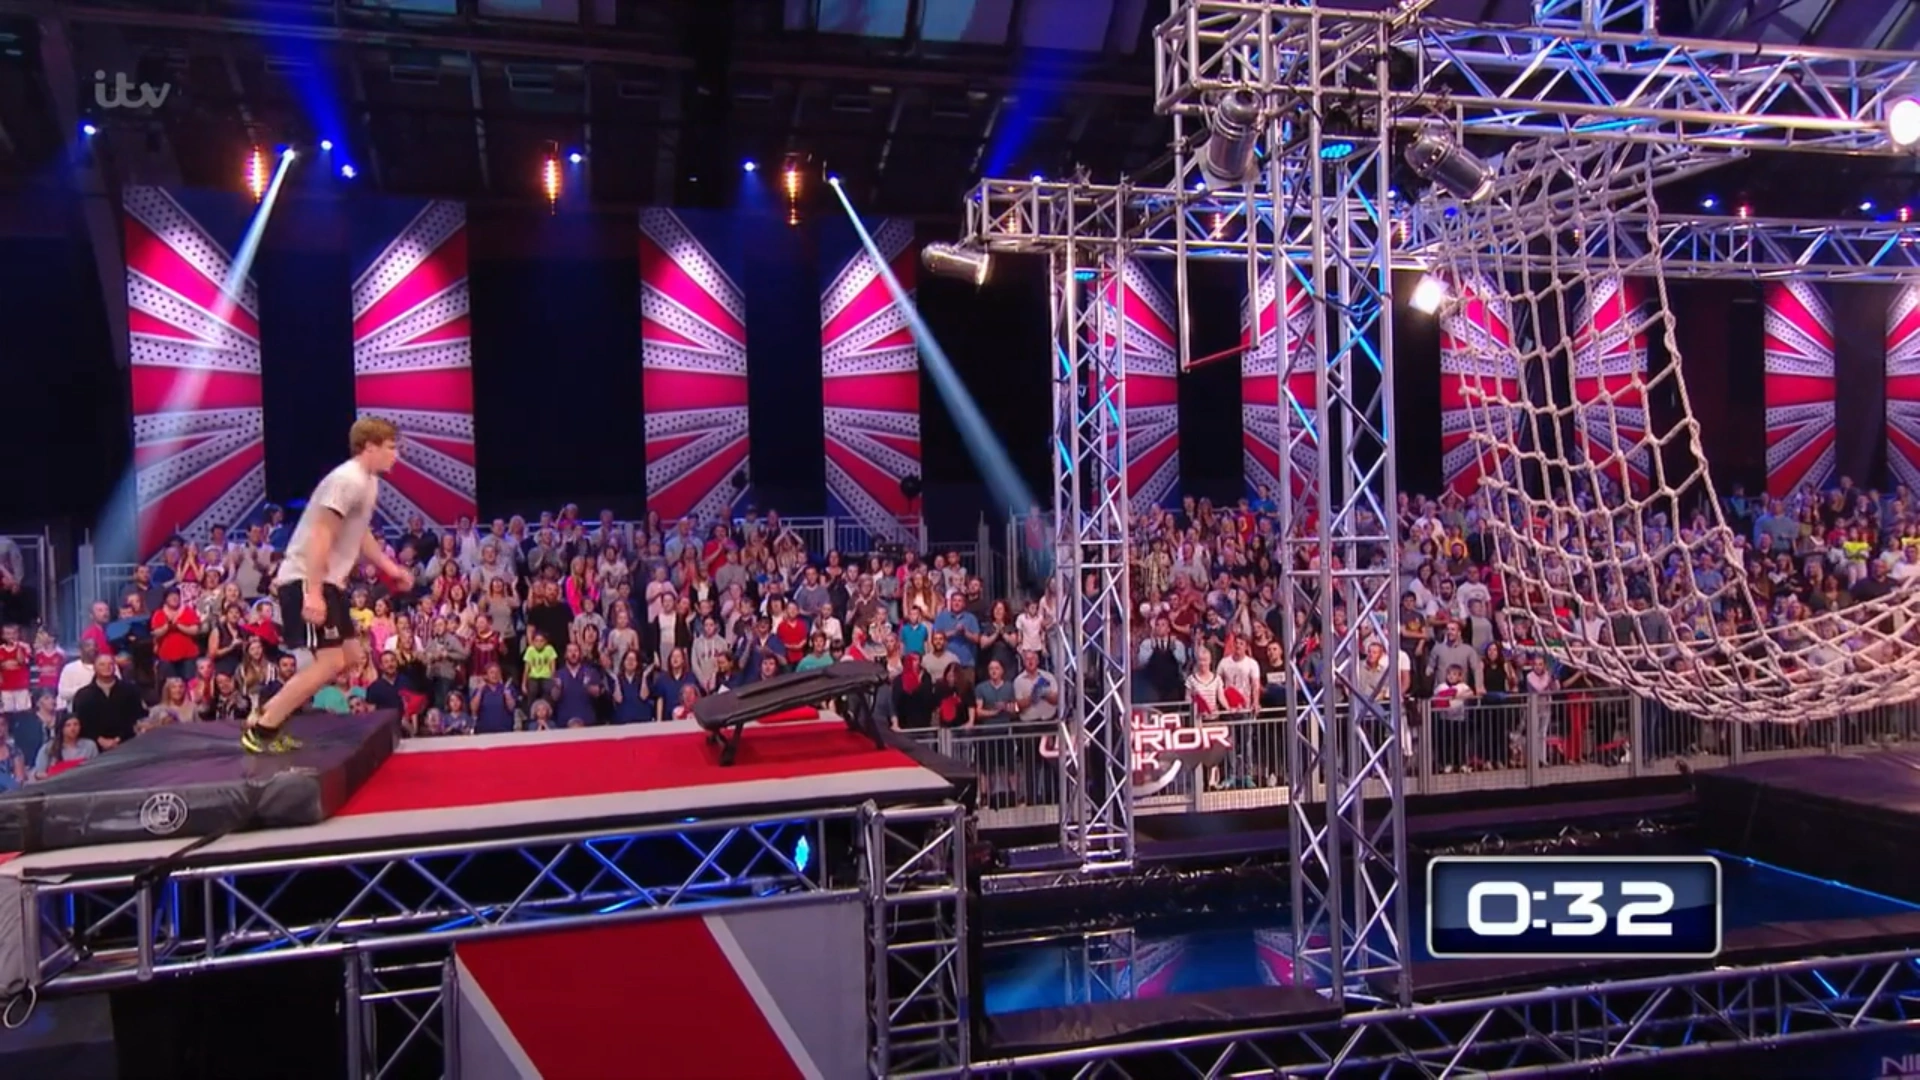
Ninja Warrior UK 2's Jump Hang with Lache
Jumping Bars into Cargo Net (called the Jump Hang with Laché) was used as the fourth obstacle in Heat 5 in Ninja Warrior UK 2 , with just one bar instead of two.
Ninja Warrior Germany[]

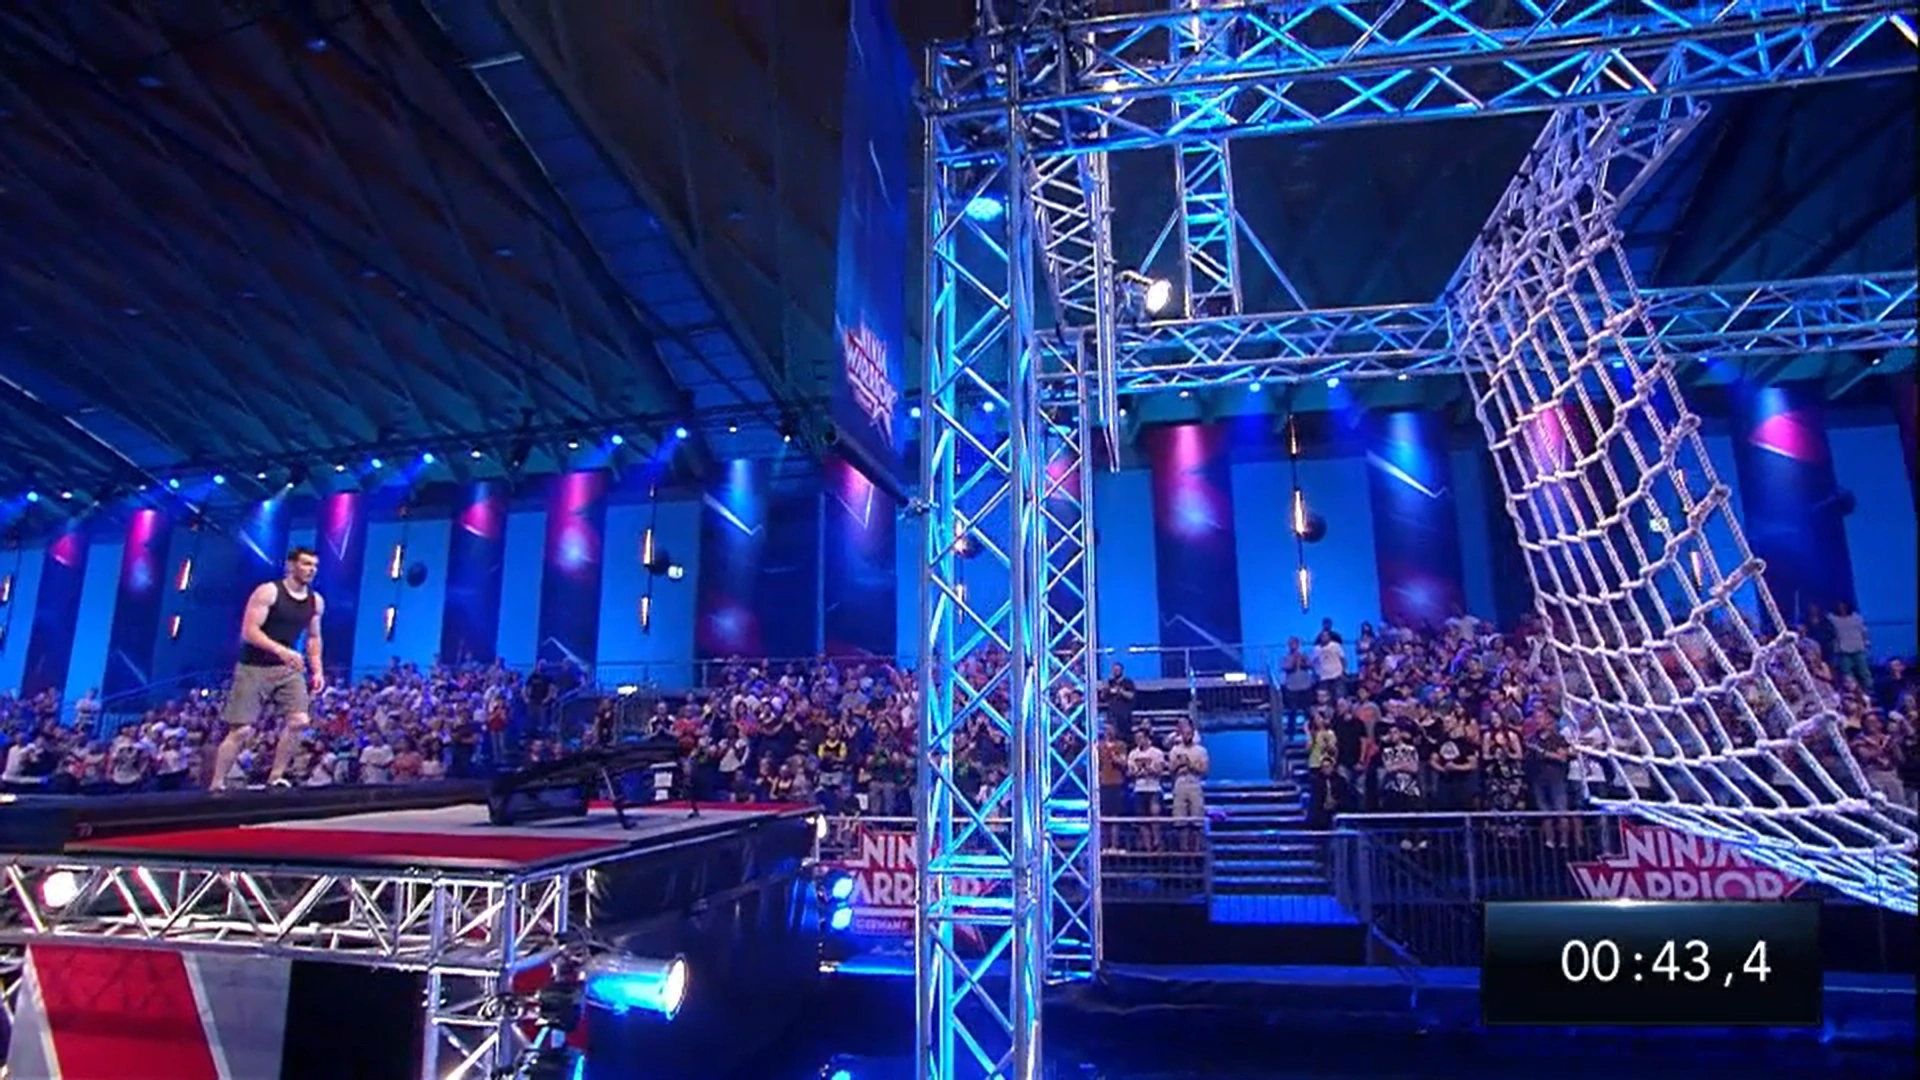
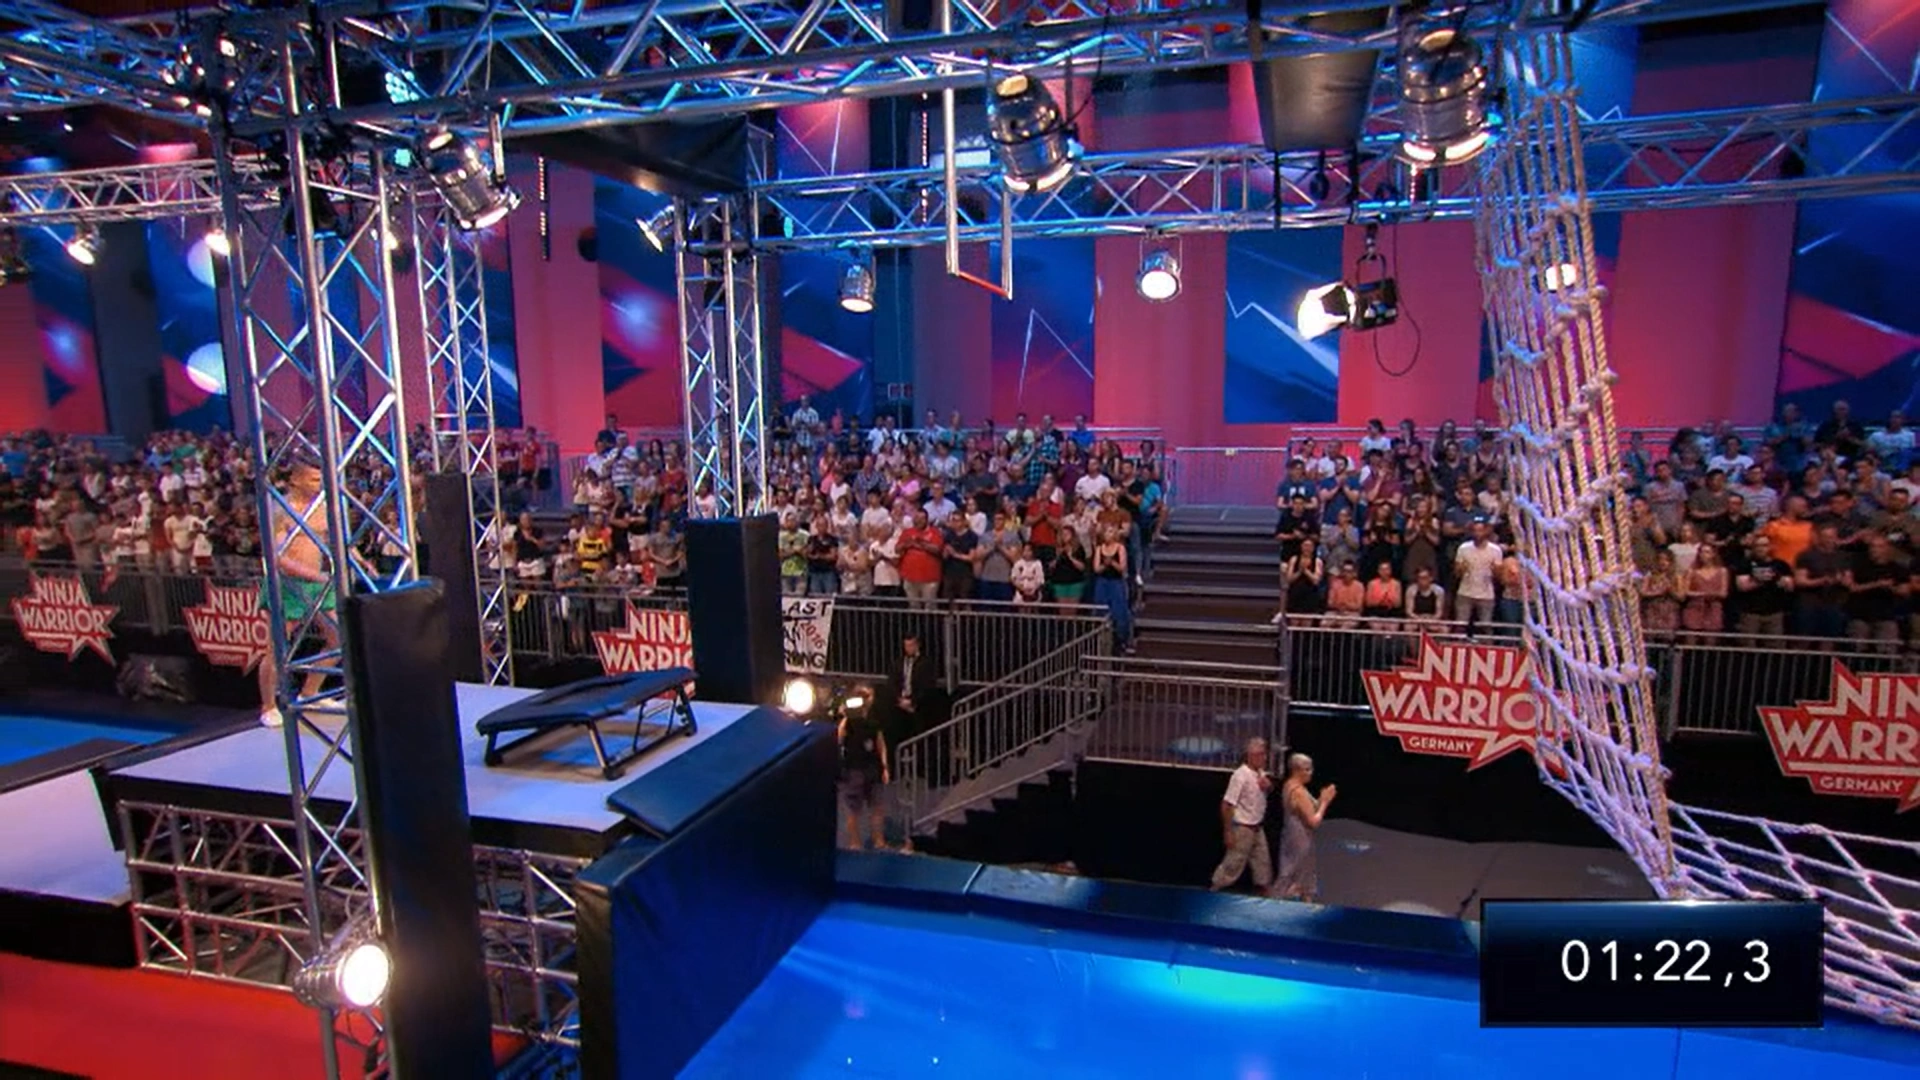
Ninja Warrior Germany 1's Jump Hang with Lache
Jump Hang with Laché appeared as the fourth obstacle in Preliminary Round 4 of Ninja Warrior Germany 1, with just one bar instead of two.

Ninja Warrior Germany 2's Jump Hang with Lache
It returned as the fourth obstacle of Preliminary Round 7 of Ninja Warrior Germany 2, with a similar specification as the previous season.
Australian Ninja Warrior[]
.png)
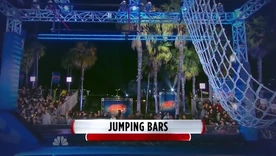
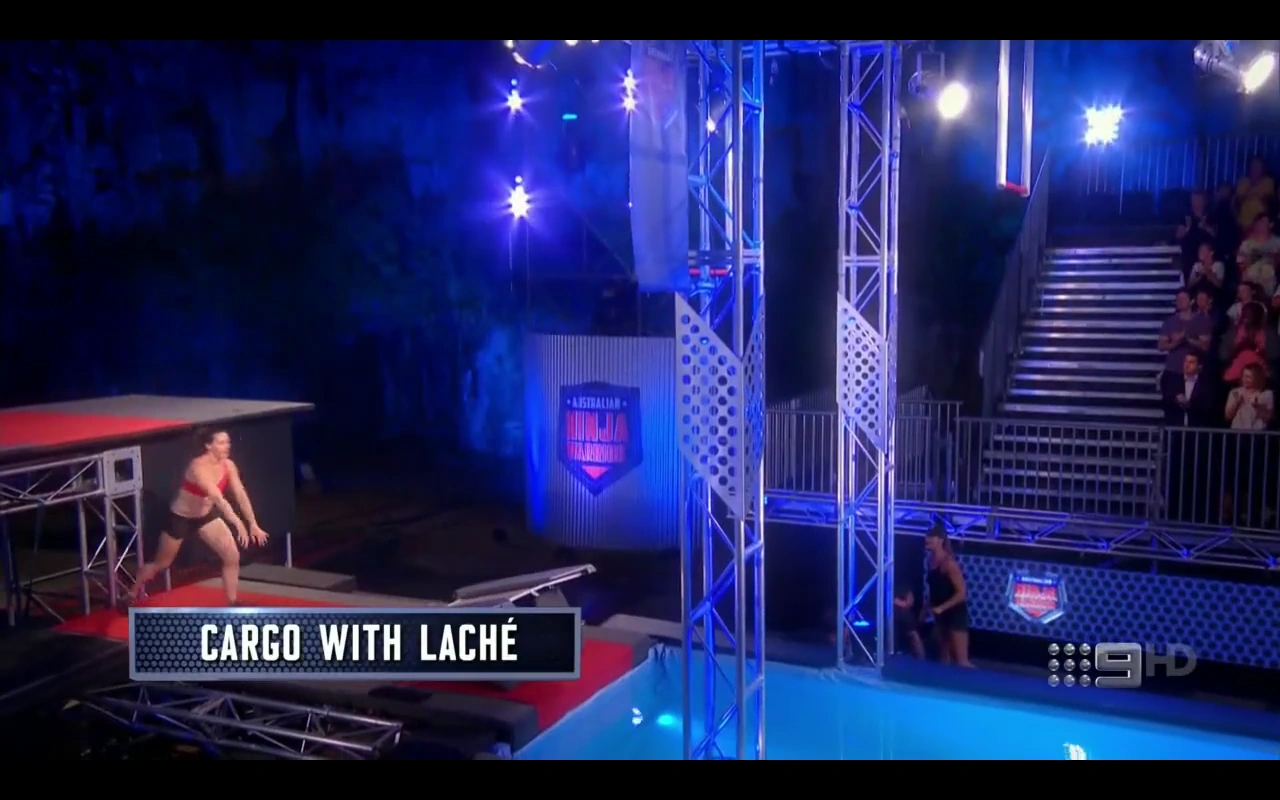
Australian Ninja Warrior's Cargo with Laché


Lateral view of Australian Ninja Warrior's Cargo with Laché
Jumping Bars into Cargo Net (called the Cargo with Laché) was the fourth obstacle of Heat 3 in Australian Ninja Warrior, with two bars, the second placed higher than the first
Ninja Warrior Israel[]

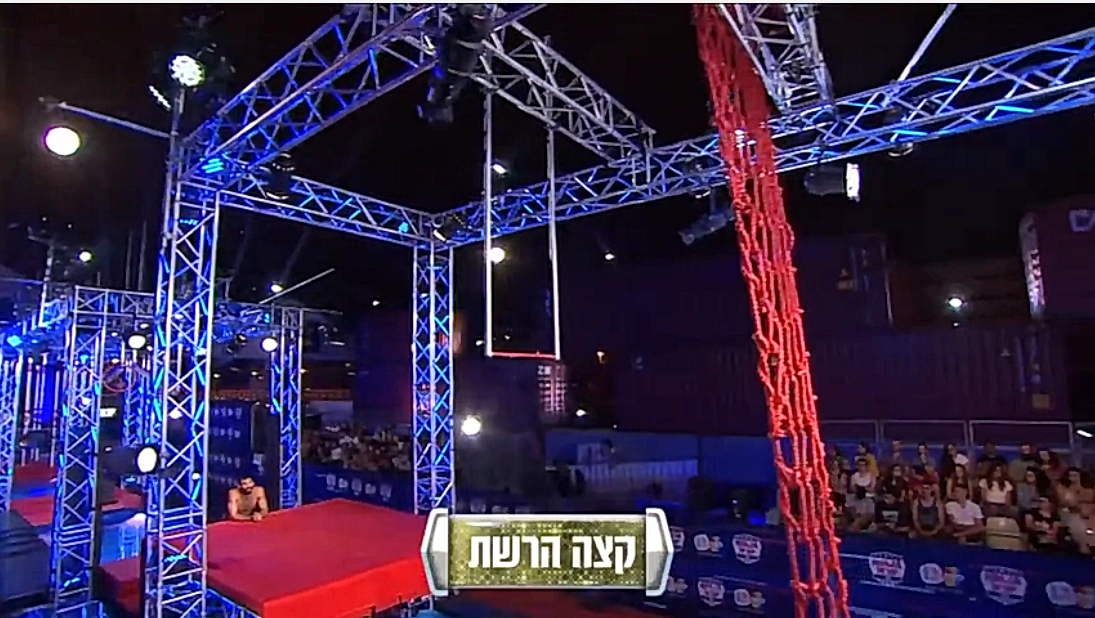
Ninja Israel's Rope Ladder (with laché)
Jumping Bars into Cargo Net was used as the ninth obstacle in Finals' Stage One in Ninja Warrior Israel, with the cargo net was very similar to the Rope Ladder instead of Jump Hang. The obstacle featured only one bar instead of two (similar to Ninja Warrior UK 2's version), except that the trampoline was removed, requiring competitors to jump for the first bar (similar to the Jumping Bars from SASUKE 18 to SASUKE 24). Also, the laché served as a part of Rope Ladder, making the obstacle a mini version of Triple Swing.
Competitor's Success Rate[]
- All results based on the TBS/G4 broadcast and external information found.
SASUKE[]
| SASUKE | Clears | Attempts | Percentage |
|---|---|---|---|
| 14 | 1 | 2 | 50% |
| 15 | 2 | 3 | 66.67% |
| 16 | 3 | 3 | 100% |
| 17 | 3 | 3 | 100% |
| 18 | 0 | 0 | N/A |
| 19 | 0 | 0 | N/A |
| 20 | 0 | 0 | N/A |
| 21 | 2 | 2 | 100% |
| 22 | 2 | 2 | 100% |
| 23 | 5 | 5 | 100% |
| 24 | 7 | 7 | 100% |
| Total | 25 | 27 | 92.59% |
American Ninja Warrior[]
| ANW | Clears | Attempts | Percentage |
|---|---|---|---|
| ANW1 | 22 | 25 | 88% |
| Total | 22 | 25 | 88% |
| |||||||||||||||||||||||||||||